Saturday, December 25, 2010

Mini Winter Wonderland

Merry Christmas everyone!

I know you're all dying to see the rest of my mini bedroom winter wonderland, right right? So here it is. Keep in mind that my bedroom is still under-furnished. I still need a desk especially since Santa got me a super nice sewing machine. :D

This year, I kept the color scheme simple; white, silver, and red to make it easier on myself to coordinate everything.

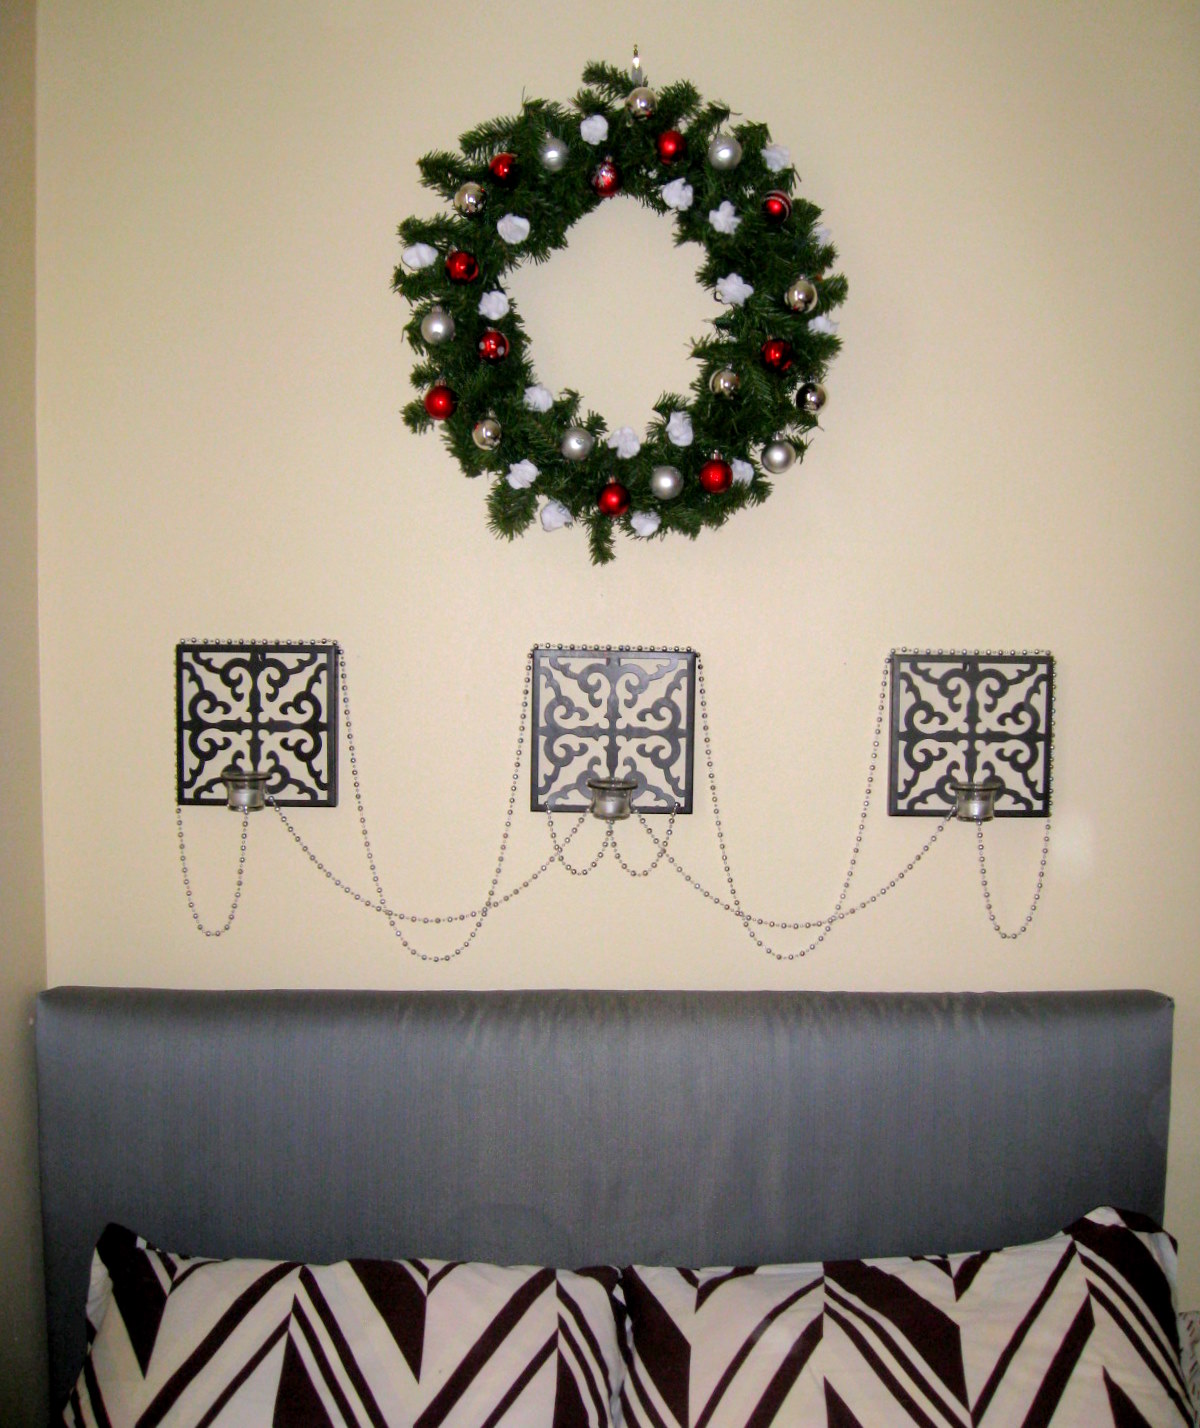
Over my bed, I put up a wreath that I made by shaping a garland and tying it down using some floral wire. Originally, I was just gonna string the garland over my bed but it looked kinda sloppy. I decorated it with the same ornaments I used on my tree and draped a silver beaded garland across the tealight scones to dress things up more.


The ornaments on my wreath...


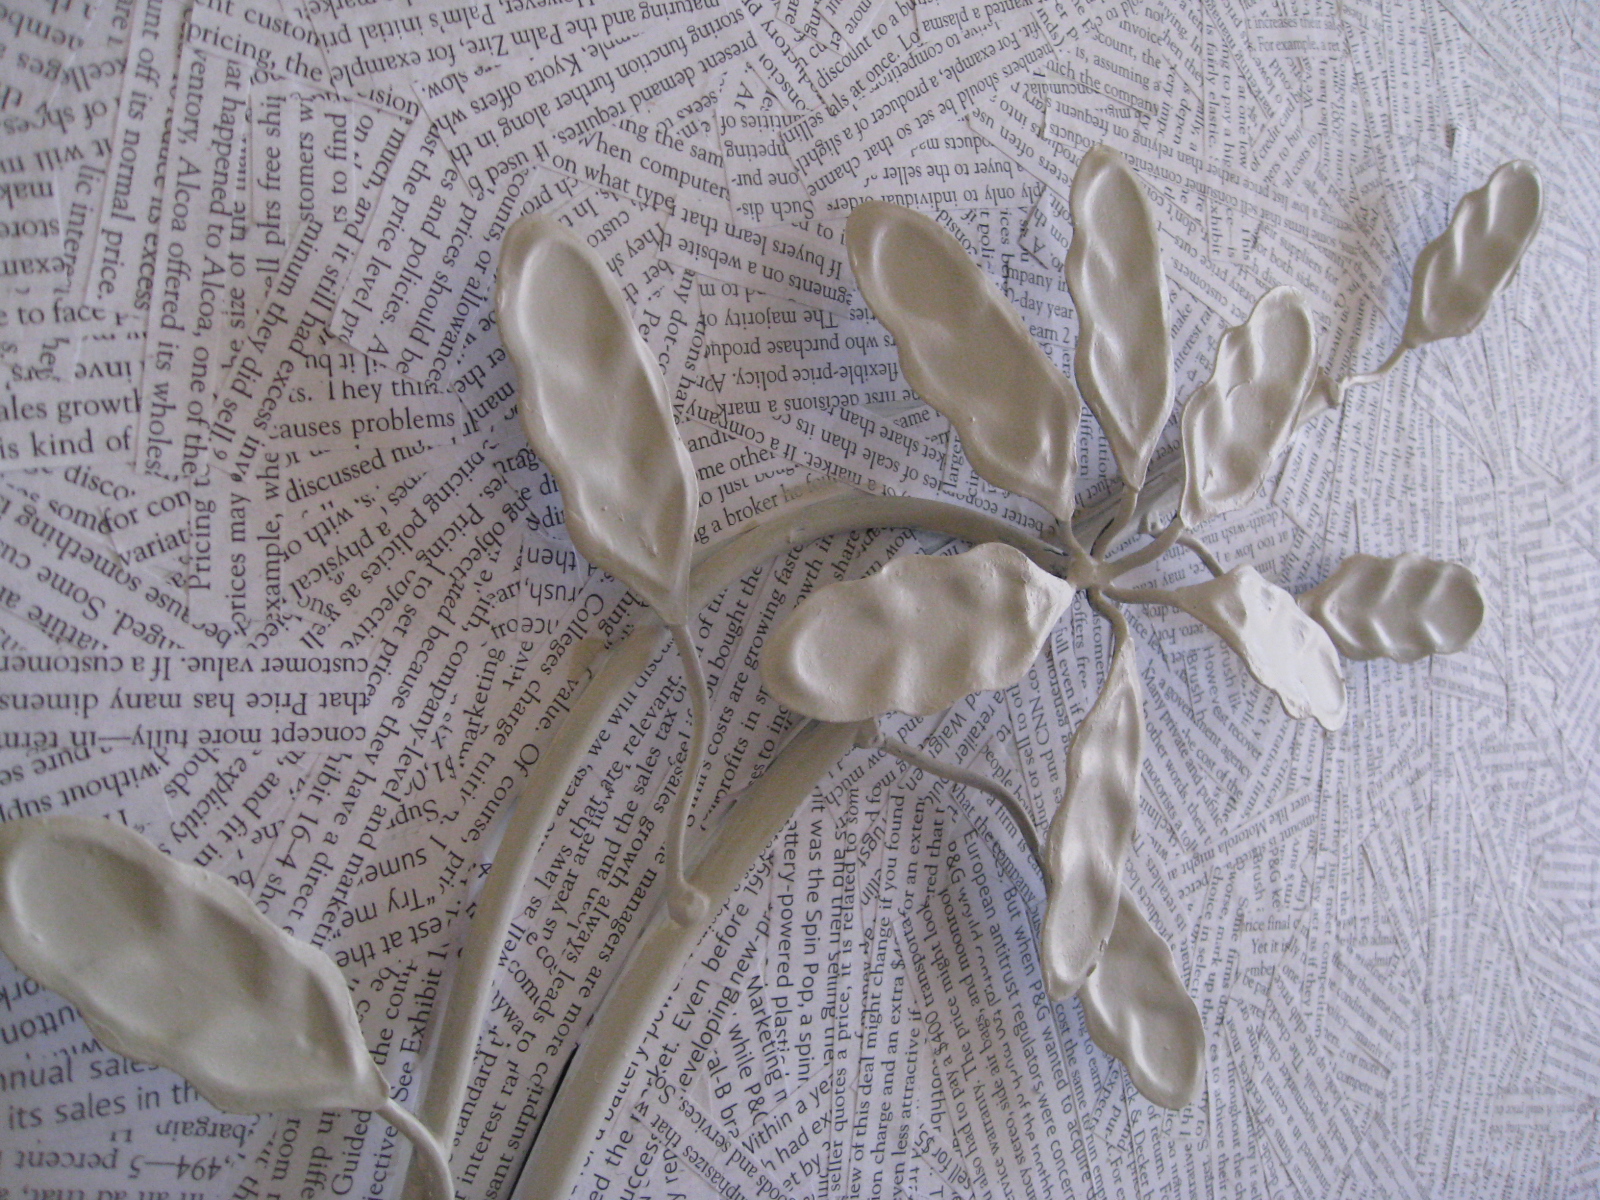
Close up of a white fleece puff I made. I stitched together 5 little round cutouts and shaped them.


And my cute little Christmas trees on my dresser. :)


That's it for now! Happy Holidays!

Transforming candles

The fastest and most dramatic way to transform a candle you're tired of is to simply wrap it in pretty paper! Gift wrap paper and scrapbook paper are great sources to look into for lots of different patterns. But whatever you decide to use, just don't light the candles. These candles are just fo' show!

Before: plain Ikea candles. Looking kinda boring...


After gift wrapping: Oh la la! So wintery and pretty...


...Perfect for glamming up my puffy fleece Christmas tree forest!


That's it for now and thanks for stopping by.
-Trinh

Sunday, December 12, 2010

Whimsical Puffy Christmas Trees

So for Christmas this year, I've amassed a small forest of whimsical plush white trees to surround my table top Christmas tree (4ft. potted lit tree from Target) on my bedroom dresser. I just love the juxtaposition of the cute puffy white trees with the elegant candles. I added some yarn pom poms for texture and red and silver ornaments to tie these little trees to my larger green one.


Read on if you wanna know how to make one too!

Friday, December 3, 2010

Winter Wonderland Sneak Peek

Are you guys excited about the holiday season? I know I am! After seeing so many awesome holiday window displays in stores (hello West Elm, Crate & Barrel, Anthropologie!), I've decided to turn my bedroom into my very own winter wonderland. :) And since I <3 <3 <3 crafting, I'm making a lot of my own decorations this year so the process of decorating has been kinda slow since I only have two hands.


But here's a peak of what my dresser is looking like lately...


It's still a work in progess...I want more trees and some pops of color and a bunch of other stuff.


And in case you're curious where I got everything from...
If you saw my earlier post, you'll reconize the newspaper art on my wall as madeover old purchases from Marshalls. I didn't finish the second one until after the tutorial. The silver candlestick and candle holders I got from thrifting at the Salvation Army for about $3 each (Pottery Barn and Crate & Barrel respectively). The candles are all from Ikea. And lastly the part that actually reads Christmas, the puffy white Christmas trees are handmade by me. I'll post a tutorial on how to make them later this weekend. :)

Sunday, November 28, 2010

Chicago for a Day

Snapshots from my 27 hour trip to Chicago.

My room at the Fairmount Chicago. I forgot to take pictures of the rest of the room, but check out the sleek leather upholstered bed frame and large graphic floral print. I love oversized prints.


The view from outside my window on the 35th floor.


Walking around Downtown Chicago. I love seeing all of the Christmas decorations up in cities.


Some cool buildings I saw in Downtown Chicago.


Jay Pritzker Pavilion at the Millennium Park.


The Cloud Gate Sculpture which is really a giant shiny metal bean. Which is totally awesome.


The Cloud Gate from underneath. I gotta say it's one of the coolest sculptures I've seen. The views are like fun house mirrors on steroids.


That's all for now!

Thursday, November 25, 2010

Closet Case

Happy Thanksgiving everyone!

I don't have anything Turkey day related to post but I thought I'd share my closet organization project. :)


When you're living in a small apartment with roommates, storage space becomes even more of an issue. Thus in an effort to maximize what I got, I added a shelf to my closet and bought some canvas storage boxes. This is the organized final result.


Although my apartment is lacking in width, it has plenty of height with 11' ceilings. Even the ceiling space in my closet is very elevated. Here's a picture showing what I mean.


As you can see from above, I started out with only one shelf right above the closet pole. For someone like me with a ton of crap, I really needed to maximize the storage space in that closet. So off I went to Home Depot to pick up some shelving materials. Originally, I was planning on building a similar wooden shelf to match the existing one, but then I saw the Closet Maid closet stuff and decided that adjustable shelving would be both cooler and easier.

During a visit to a local discount store near my apartment, I found some canvas boxes and picked up 4 of them. I only have 3 in the picture below since I had already assembled one before realizing I should photograph them.


I picked up coordinating colors, beige and black. And labeled them according to their contents. I even labeled one "random stuff". Thanks to my snazzy new boxes and shelf, I now have a visually appealing way of putting all of my crap away.

-Trinh

Tuesday, November 23, 2010

New Ikea Dressers

So a couple of weeks ago, I finally got some drawers. This means no more cardboard box "dressers" to clutter my room. YAY!

I ended up picking out two Ikea Malm 4 drawer dressers ($100 each) because I need a lot of storage for cheap in my tiny apartment. I considered buying a dresser using Craigslist but getting it home to Brooklyn would be such a hassle for large items. I also tried thrifting at a nearby Salvation Army only to find icky dressers priced above $150 each. Therefore, I went to good ol' affordable Ikea because I can get it delivered along with some other stuff I need/want. I <3 Ikea.


Anyways, what do you think of Malm dressers? Too plain and streamlined? Or perfectly simplistic and modern? I waver between leaving it as is and giving them a nice coat of paint with some hardware.

Speaking of hardware, I LOVE glass knobs. Anthropologie has some really pretty knobs but to buy 16 knobs (2 per drawer) would seriously add up at $8-$10 a piece.


So then I thought about DIYing some fancy looking knobs using cheap flat-topped knobs as a base from Home Depot and gluing some pretty flat glass or flat gemstone beads. Then I spotted these at Home Depot and thought "hey good enough!" for now. Wanna know the best part? The knobs were only $1.19 a piece from Home Depot! In case you're curious, they're Liberty 1-3/8" round knobs, Sundial in antique brass. The antique brass is actually a really nice color.

With flash: the knobs can sometimes look more gunmetalish than brass.


With natural light: This is a tad more brassy than what it looks like in person. 


While at Home Depot, I picked up some paint swatches to play around with. I'm really loving the blues and blue-greens. 


The other swatches of grey I used to try to match against my upholstered headboard to pick out potential accent colors if I decide to paint the dressers a lighter color and then add a dark border on the edges of the drawers.  The two swatches below are a pretty close match.


So what do you think? To paint or not to paint? Also what color would you pick?

Until next time,
Trinh

Thursday, November 18, 2010

Decoupaged wall art

On a window shopping spree at West Elm, I fell in love with David Stark's line of holiday decorations. I really dig the look of decoupaged newspapers since it's simple and green but adds a lot of interest to objects.


Inspired, I decided to updated this old metal art I had purchased from Marshalls a year ago into something more suitable for my current taste.

Before:


After:


Close up


Read on to find out how I did this super simple makeover!

Wednesday, November 17, 2010

DIY Upholstered Bedframe

Now that I'm living like a grown up after college, it's time for my sleeping situation to look the part too. So although the Fjellse bedframe has great bones (solid pine, not particleboard!) and the price at $50 cannot be beat, it's just a bit too plain and cheapie-college looking for my taste. Although I could just slap on some nice paint and call it a day, my inner interior decorator really really wanted a luxe upholstered bed ever since I laid eyes on them.

So after a long weekend of hardwork, I finally made my bed go from this:

Taken at night with artificial lights so everything is extra yellow. Notice how "rustic" the bedframe looks.

To this:

Natural lighting makes my room look so much prettier :)


I was inspired by Daniel Kanter from Manhattan Nest who shared his great tutorial on how he took his Fjellse bedframe and made it look awesome like this. He even has it paired with crisp white covers which is what I'm really digging at the moment too. It's so sleek, clean and modern with a masculine touch thanks to the dark wool upholstery and square lines.


Inspired by his approach to the Fjellse and his great tutorial on building up height on the headboard which I used, and bored with the plain wood look, I decided to tackle my own Ikea hack.
Read on if you're curious about how I transformed my bed. 

Wednesday, November 10, 2010

Just moved in

So I just moved into my new apartment in Brooklyn, NY exactly one month ago, and I am still so overwhelmed by my squalorly state! I've been living out of cardboard boxes and suitcases for the past month and would totally feel like a squatter if it weren't for my bed. That was the very first thing I got, along with my curtains. Meet my Ikea bed, Fjellse and my Ikea window treatments, Trolig and Lenda.


As you can probably tell, my bedding is nothing special and rather dizzing with all of the zig zags , not that anything in the room looks special in the slightest (sigh) but it keeps me warm so it'll stay for now.

So how about a little tour of the sqaulorly room? It's actually not that squalorly since I cleaned and decluttered a ton before taking these pictures.

Currently, this is my "dresser" situation. Don't mind the plywood boards, that's going towards a little DIY project I have planned for later.

On the opposite wall where my bed is pushed against, I have my "vanity" area. Also, meet my furry friend, Eve who is sitting in high style. Literally, the cardboard cat scratcher is full of catnip.

 And lastly, my closet. The doors are sliding which I'm not really a fan of since I can only see/reach into half of my closet at any given time. Also, there's no knob for the frontmost door, just a huge gaping hole which you can see below. 

That's it for now. Really exciting I know, but stay tuned for next time when I share my IKEA bed makeover! That's where those plywood boards will live. Thanks for stopping by!


Until next time,
Trinh